Welcome to the world of hobby painting oil! Whether you’re a beginner or have some experience with oil painting, this artistic pursuit can bring immense joy and fulfillment to your life. In this section, we will explore the techniques and tips that can help you unleash your creativity and enhance your skills in hobby painting oil. So, let’s dive in!
Key Takeaways:
- Hobby painting oil is a rewarding and fulfilling artistic pursuit.
- Exploring various oil painting techniques can elevate your skills and provide artistic inspiration.
- Proper supplies and workspace setup are essential to getting started with hobby painting oil.
- Tips for successful oil painting can help you avoid common pitfalls and make the most of your painting sessions.
- Inspiration plays a crucial role in any artistic endeavor, and there are various ways to find inspiration for oil paintings.
Getting Started with Hobby Painting Oil
If you’re new to oil painting, getting started can seem overwhelming. But fear not! With the right supplies and a little guidance, you’ll be on your way to creating beautiful artwork in no time.
Essential Oil Painting Supplies
Before you start painting, you’ll need to gather some basic supplies. Here are some must-haves:
| Supplies | Recommendations |
|---|---|
| Oil paint | Start with a basic set of colors. Look for artist-quality paints, not student-grade. |
| Brushes | Invest in a variety of sizes and shapes. Natural hair brushes are best for oil painting. |
| Canvas | Choose a canvas that has been pre-primed with gesso. You can also use canvas boards or panels. |
| Palette | A wooden palette with a thumb hole is a good choice. You can also use a disposable palette pad. |
| Solvent | Mineral spirits or turpentine are used to thin your paints and clean your brushes. |
| Medium | A medium helps to extend the paint and affects the final finish of your painting. Look for one that matches your desired effect. |
Other helpful tools to have on hand include a palette knife, paper towels, and an apron or smock to protect your clothing.
Preparing Your Workspace
Once you have your supplies, it’s time to set up your workspace. Find a well-ventilated area with plenty of natural or artificial light. Lay down a drop cloth or old sheet to protect your surfaces. Arrange your supplies within easy reach, and make sure there’s enough space for you to move around comfortably.
Tips for Beginners
Here are some tips to keep in mind as you begin your oil painting journey:
- Start with simple compositions and subjects.
- Practice color mixing to achieve the hues you desire.
- Experiment with different brush strokes and techniques.
- Allow your layers to dry completely before adding new ones.
- Clean your brushes thoroughly between colors.
Remember that oil painting is a skill that takes time and practice to master. Don’t be discouraged if your first attempts don’t turn out the way you envisioned. Keep painting, experimenting, and learning from your mistakes.
Exploring Oil Painting Techniques
Oil painting is a versatile and vibrant medium that offers endless possibilities for artistic expression. Whether you’re new to oil painting or a seasoned artist, knowing a variety of techniques will help you create beautiful and unique works of art. Here are some essential oil painting techniques to explore:
Color Mixing
Color mixing is a fundamental skill that every oil painter should master. With a basic understanding of color theory, you can create an endless variety of hues, shades, and tones. Start with a limited palette of primary colors (red, blue, and yellow) and experiment with mixing them together to create secondary colors (orange, green, and purple). You can also add white and black to adjust the value and intensity of each color.
Brushwork
The way you use your brush can greatly affect the texture and mood of your painting. Experiment with different brush sizes and shapes to create a range of strokes, from thin and delicate lines to thick and expressive marks. Use a light touch for smooth blending and a heavier hand for bold impasto effects.
Glazing
Glazing is a technique that involves layering thin, transparent layers of oil paint over one another. It can create luminous effects and add depth and complexity to your painting. To glaze, wait until the underlying layer is dry, and then apply a thin layer of color over it. Repeat this process until you achieve the desired effect.
Impasto
Impasto is a technique that involves applying thick, textured layers of paint to the canvas. It can create three-dimensional effects and add a tactile quality to your painting. To create impasto, use a palette knife or brush to apply thick layers of paint directly to the canvas. Experiment with different tools and techniques to create a range of effects.
These are just a few of the many oil painting techniques you can explore. With practice and experimentation, you can develop your own unique style and create art that reflects your individuality and creativity.
Tips for Successful Oil Painting
Oil painting can be a challenging and rewarding artistic pursuit. To help you achieve success, we’ve compiled some valuable tips to keep in mind.
1. Clean Your Brushes Properly
Cleanliness is key when it comes to oil painting. After each session, make sure to clean your brushes thoroughly with soap and water, or a specialized brush cleaner. This will help prevent color mixing and ensure the longevity of your brushes.
2. Understand Color Mixing
Color mixing is an essential skill in oil painting. Take the time to learn how to mix primary colors to create secondary and tertiary colors. Experiment with different color combinations to find the perfect hue for your painting. Remember, less is often more when it comes to mixing colors.
3. Use Light Layers and Build Up
Oil paints take longer to dry than other mediums, so it’s important to layer your colors lightly and build up gradually. This will help prevent your painting from cracking or becoming too thick. Allow each layer to dry completely before adding another layer.
4. Pay Attention to Drying Time
The drying time of oil paints can vary depending on the brand and color. Keep this in mind when painting and allow enough time for each layer to dry completely before adding another. Avoid working on a wet surface, as this can cause color mixing and smudging.
5. Practice Patience
Oil painting requires patience and perseverance. Don’t rush your painting and take breaks when needed. Step back and assess your progress frequently to avoid overworking your painting. Remember, it’s okay to make mistakes and learn from them.
By following these tips, you can achieve great results with your oil painting hobby. Remember to have fun, experiment, and continue learning to develop your skills.
Finding Inspiration for Oil Painting
One of the most exciting aspects of hobby painting oil is finding inspiration for your artwork. Inspiration can come from a wide range of sources, including nature, still life subjects, photographs, and your imagination. Here are some ideas for finding inspiration to spark your creativity:
- Take a walk in nature and observe the colors, textures, and shapes around you. You may find inspiration in the way the sunlight hits a tree or the way a flower blooms.
- Look for interesting objects around your home or in your favorite places. You can use these objects as still life subjects for your oil paintings. Try arranging them in different ways to create unique compositions.
- Browse online galleries or art books to discover different styles and techniques that you can incorporate into your own artwork.
- Experiment with different color palettes and combinations to create an emotional response or convey a specific mood in your paintings.
- Let your imagination run wild. Sketch out ideas and concepts that come to mind and see where they take you.
Remember that finding inspiration is a personal process, and what inspires one artist may not work for another. The key is to stay open-minded and curious, and to always be on the lookout for new ideas and inspiration.
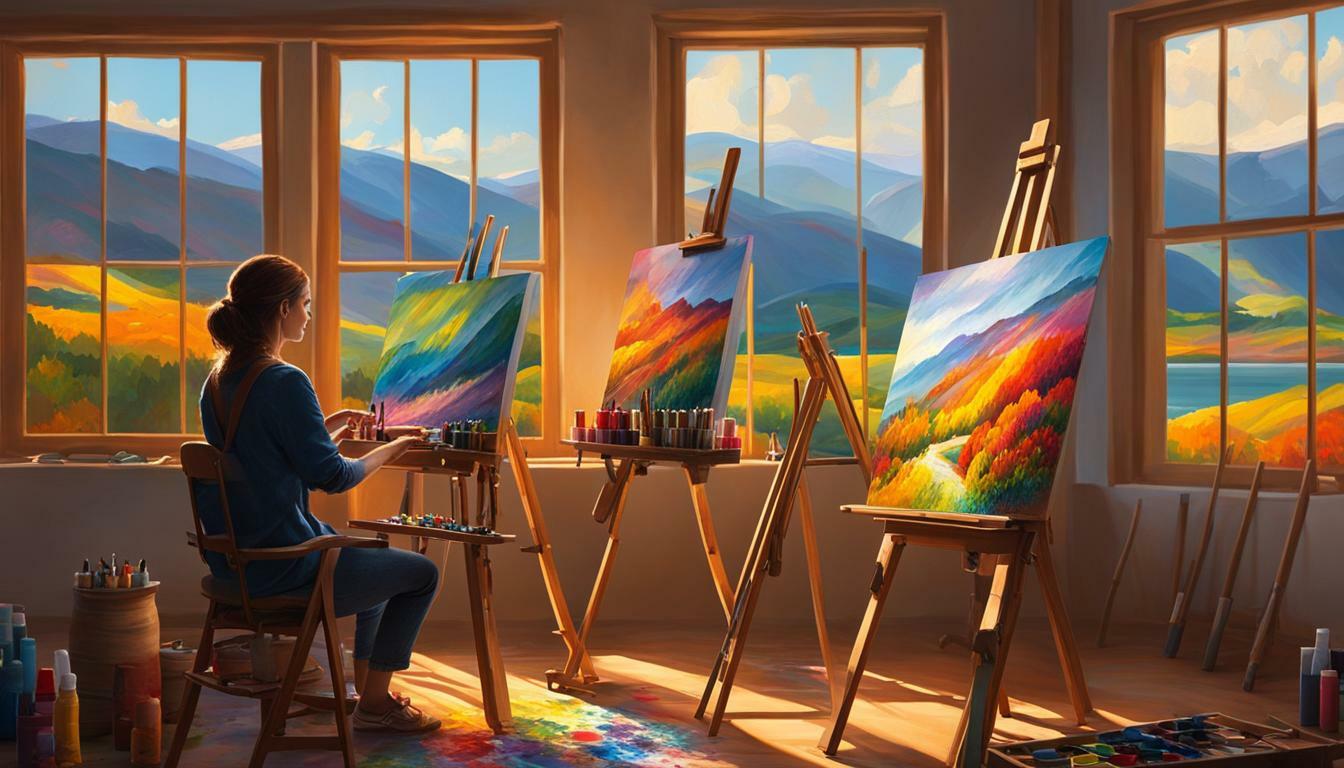
Step-by-Step Oil Painting Tutorial
Now that you have a grasp on the essential oil painting techniques and tips, it’s time to put them into practice with a step-by-step tutorial.
For this tutorial, we’ll be painting a serene landscape featuring a sunset over a mountain range. Let’s get started!
Step 1: Prepare Your Materials
Before diving into the painting process, make sure you have all the materials you’ll need. This includes:
- Oil paints in the colors you want to use
- Paintbrushes in various sizes
- A canvas or painting surface
- A palette
- Linseed oil or medium (optional)
Make sure your workspace is clean, well-lit, and free of any distractions that may interfere with your focus.
Step 2: Sketch Your Composition
Using a pencil, sketch out your composition lightly on the canvas. This will serve as a guide for your painting. Don’t worry about being too precise; your sketch can be rough and loose, as long as it gives you a general idea of the layout.
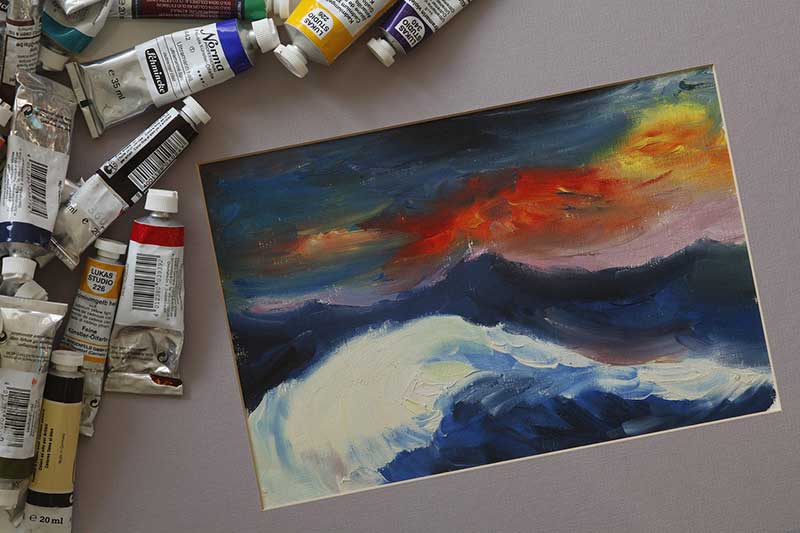
Step 3: Add Base Colors
Begin by adding the base colors to your painting. Use broad brushstrokes and work quickly to cover the canvas. Don’t worry about adding details at this point; focus on establishing the overall color scheme and tone.
Step 4: Build Up the Layers
Once your base colors are in place, begin building up the layers. Use smaller brushes and work in more detail, adding highlights and shadows to create depth and dimension.
Remember to step back and view your painting from a distance to ensure it looks balanced and cohesive.
Step 5: Refine Your Details
As you continue to build up your layers, take the time to refine the details in your painting. Add texture to the mountains, create a smooth gradient for the sunset, and add highlights to any trees or other features in the landscape.
Step 6: Final Touches
Once you’re happy with your painting, make any final touches necessary. Step back and view your painting from a distance to ensure you’re satisfied with the overall result. If you notice any areas that need further attention, go back and make the necessary adjustments.
And there you have it, a complete oil painting! Keep practicing with different subject matters and techniques to continue growing and developing your skill in hobby painting oil.
Conclusion
In conclusion, hobby painting oil is a wonderful way to express your creativity and explore your artistic talents. By following the techniques and tips discussed in this article, you can unleash your inner artist and create stunning oil paintings that you can be proud of.
Remember to start with the basics when getting started with hobby painting oil. Familiarize yourself with the essential supplies and set up a comfortable workspace. Then, begin exploring the different techniques, such as color mixing, brushwork, and glazing. By incorporating these into your painting sessions, you can achieve the desired texture, color, and depth in your oil paintings.
It’s also important to follow some simple tips for successful oil painting. Whether it’s cleaning your brushes or understanding the drying time of oil paints, these insights can help you avoid common mistakes and improve your results.
Don’t forget to find inspiration for your oil paintings! There are many sources available, from nature and still life subjects to photographs and your imagination. Use these sources to develop unique concepts and ideas for your artwork.
Finally, practice makes perfect! Keep experimenting and exploring your creativity to develop your skills further. With time, you’ll become a skilled hobby painting oil artist, and you’ll find joy in every painting session.
FAQ
Q: What is hobby painting oil?
A: Hobby painting oil is a form of artistic expression using oil paints on various surfaces like canvas or board. It allows individuals to explore their creativity and create stunning artworks using different techniques and styles.
Q: Do I need any prior experience to start hobby painting oil?
A: No, hobby painting oil is suitable for beginners and experienced artists alike. With practice and the right techniques, anyone can learn and improve their skills in oil painting.
Q: What supplies do I need to get started with hobby painting oil?
A: To get started, you’ll need oil paints, brushes, canvases or boards, a palette, palette knives, and a medium for thinning the paint. Having a proper setup and good-quality supplies will enhance your painting experience and results.
Q: What are some basic oil painting techniques?
A: Some basic oil painting techniques include color mixing, brushwork, glazing, and impasto. These techniques help create texture, blend colors, and add depth and dimension to your artwork.
Q: How do I take care of my oil painting brushes?
A: Proper brush care is essential for maintaining the quality and longevity of your brushes. After each painting session, clean your brushes with odorless mineral spirits or a brush cleaner, reshape the bristles, and store them upright or horizontally.
Q: Can I find inspiration for my oil paintings?
A: Absolutely! Inspiration can come from various sources like nature, still life subjects, photographs, or even your imagination. Take a walk in nature, browse art books, or explore different themes and concepts to find inspiration that resonates with you.
Q: Are there any step-by-step tutorials available for oil painting?
A: Yes, step-by-step tutorials can be a great way to learn and practice different techniques. You can find online resources, books, or even attend workshops where experienced artists guide you through the process of creating an artwork from start to finish.